
Steps for a Smooth Home Irrigation Setup
- Wal Bembic
- Apr 25
- 4 min read
Setting up a home irrigation system might sound like a job for the pros only, but with the right guidance, it’s something you can tackle yourself or at least understand well enough to oversee. Whether you’re aiming to keep your garden lush or your lawn looking sharp, a good irrigation system is a game-changer. Let’s walk through the steps to get your home irrigation setup off the ground and running efficiently.
Planning Your Home Irrigation Setup
Before you grab the shovel and start digging, planning is your best friend. Think of this as drawing the blueprint for your garden’s future hydration.
Assess your landscape: Walk around your yard and note the different zones. Lawns, flower beds, vegetable patches, and trees all have different watering needs.
Check your water source: Is your water pressure strong enough? Do you have easy access to a tap or a water tank? This will affect the type of system you choose.
Choose your irrigation type: Sprinklers are great for lawns, drip irrigation works wonders for garden beds, and soaker hoses can be a budget-friendly option.
Sketch a layout: Draw your yard to scale on paper or use an app. Mark where you want sprinklers or drip lines, and plan the pipe routes.
This step saves you from costly mistakes and ensures your system is tailored to your garden’s needs.

Gathering Materials and Tools
Once your plan is set, it’s time to gather everything you’ll need. Having all your materials ready before you start will keep the project flowing smoothly.
Here’s a quick checklist:
Pipes and fittings (PVC or polyethylene)
Sprinkler heads or drip emitters
Valves and timers (for automation)
Backflow preventer (to keep your water supply safe)
Pipe cutter, shovel, and trenching tool
Teflon tape and pipe glue
Pressure regulator (if needed)
Buying quality materials might cost a bit more upfront but will save you headaches down the track. Also, consider getting a timer for your system. It’s like having a personal watering assistant who never forgets.
Can I install my own irrigation system?
Absolutely! Installing your own irrigation system is doable, especially if you enjoy a bit of DIY. However, it’s important to be realistic about your skills and the complexity of your garden.
Here are some tips if you decide to go solo:
Start small: Begin with a simple zone or a drip system for your garden beds.
Follow the plan: Stick to your layout and double-check measurements.
Dig carefully: Avoid damaging existing underground utilities by calling your local utility locator service.
Test as you go: After installing each section, run water through it to check for leaks or blockages.
Don’t skip permits: Some areas require permits for irrigation work, so check local regulations.
If the project feels overwhelming, there’s no shame in calling in the experts. They bring experience and can often spot issues before they become problems.

Installing the System Step-by-Step
Now for the hands-on part. Here’s a straightforward guide to get your irrigation system installed:
Mark your trenches: Use spray paint or flags to outline where you’ll dig.
Dig trenches: Aim for about 15-30 cm deep, enough to protect pipes but not too deep to make repairs tricky.
Lay the mainline pipe: This is the backbone of your system. Connect it to your water source with a backflow preventer.
Install valves and timers: These control water flow and scheduling.
Run lateral pipes: These branch off from the mainline to your sprinklers or drip lines.
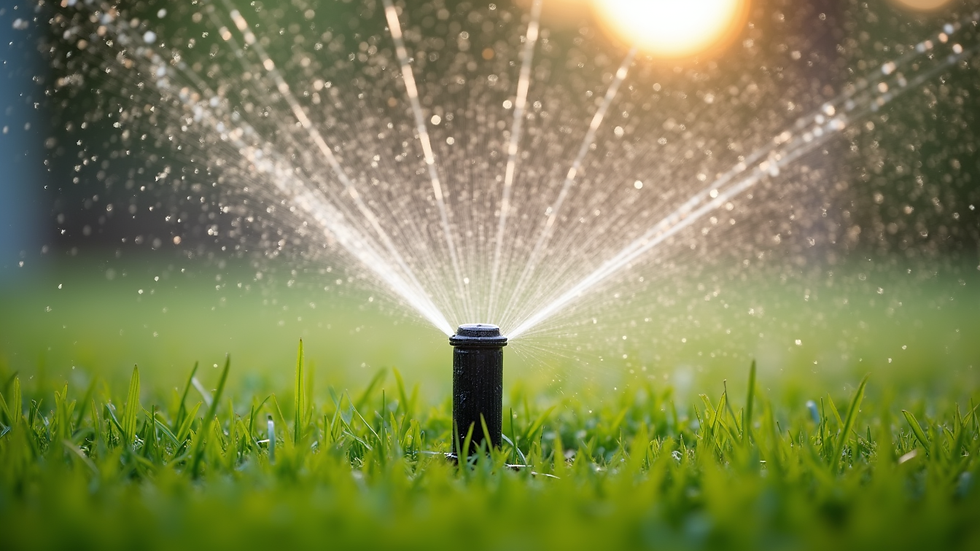
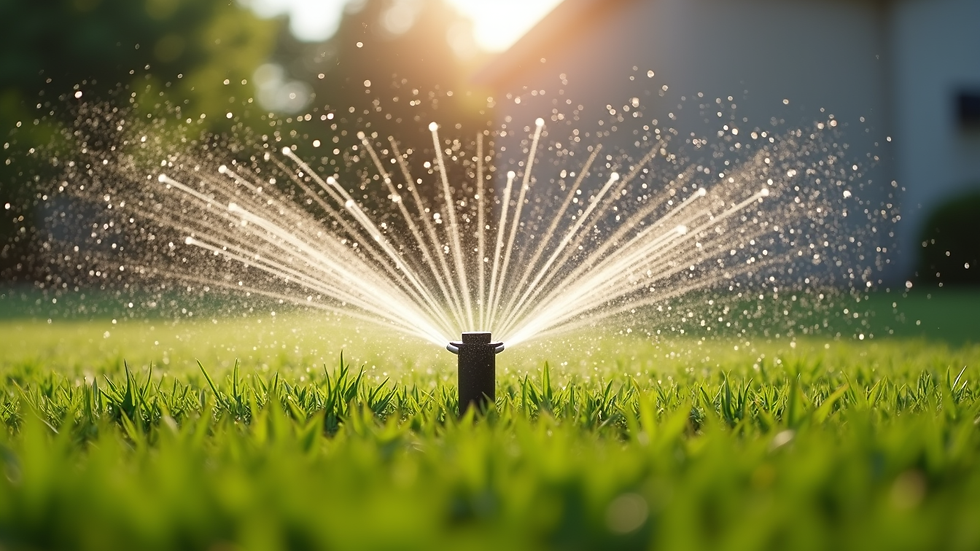
Attach sprinkler heads or drip emitters: Position them according to your plan for even coverage.
Backfill trenches: Cover pipes carefully with soil, avoiding sharp rocks.
Test the system: Turn it on and watch for leaks, dry spots, or overspray.
Adjust as needed: Move heads or tweak timers to optimise watering.
Patience is key here. Take your time to ensure everything fits and works well.
Maintaining Your Home Irrigation Setup
A good irrigation system isn’t a set-and-forget deal. Regular maintenance keeps it running smoothly and saves water.
Here’s what to do:
Check for leaks: Look for soggy spots or unusually green patches.
Clean filters and nozzles: Dirt can clog your system and reduce efficiency.
Adjust for seasons: Water less in cooler months and more during dry spells.
Winterise your system: In colder areas, drain pipes to prevent freezing damage.
Inspect timers and valves: Make sure they’re working correctly and replace batteries if needed.
A little upkeep goes a long way in keeping your garden happy and your water bills down.
Why a Professional Touch Can Help
While DIY is great, sometimes it pays to get a professional involved. Experts can design a system that perfectly matches your garden’s needs and local conditions. They also handle tricky parts like permits, backflow prevention, and complex layouts.
If you want peace of mind and a system that lasts, consider reaching out to trusted local specialists. They’ll make sure your residential irrigation installation is done right the first time.
With these steps, your home irrigation setup will be a breeze. Whether you go DIY or hire a pro, you’re on your way to a greener, healthier garden that thrives with just the right amount of water. Happy watering!

Comments